Photoshop is an incredibly powerful software because it has tools that work wonders in image editing. If you want to start working in Photoshop and do not know where to start, then we will help you with this.
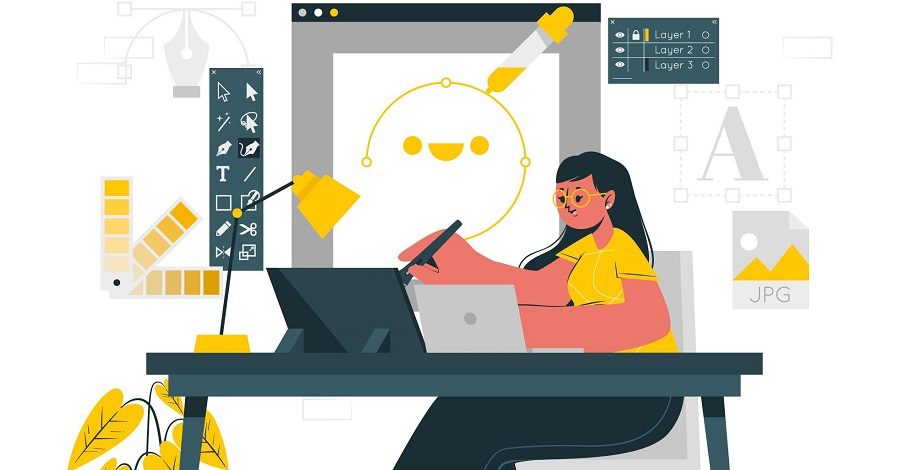
When you open Photoshop, you will see a toolbar on the left side of its interface, which has a lot of image editing features and tools.
- In this, every tool is in a different category. So let us now know about some important Photoshop tools.
- To work in Photoshop, the adobe photoshop course in Delhi provides elements toolbox as Quick mode and Expert mode so that we can easily do editing work in our photos.
- Using the tools of the toolbox, we can perform operations like select, draw, enhance and view images.
Toolbox in the Quick Mode
There is a small easy-to-use tool inside the Quick mode toolbox. The tools available in this are Zoom, Hand, Quick Selection, Eye, Type, Whiten teeth, Straighten, Crop, Spot Healing, Brush, and Move.
- Zoom tool
- hand tool
- Quick Selection
- Eye tool
- Whiten teeth tool
- Straighten tool
- Type tool
- Spot Healing Brush tool
- Crop tool
- move tool
Toolbox in the Expert Mode
There are some advanced tools in the toolbox inside Expert mode, which we are telling you below.
- View tool
- Select tool
- Enhance tool
- Draw tool
- Modify tool
Here now I will give you information about some commonly used tools.
Move Tool (V): With the help of this tool, you can move the selected element or layer from one place to another within the Photoshop canvas itself. Click and drag in the Canvas to use it. As soon as you drag, the layer will also move along with the movement of the mouse.
Marquee tool (M): With the help of Marquee, allows you to select the part of Canvas in a specific size. If you hold down the select SHIFT button, by default you get a rectangular or perfect square shape.
Lasso tool (L): Lasso is a free-form selection tool that lets you select anything in the area of Canvas that Lasso covers. Inside this tool, there is a Polygonal lasso tool from which you can select points around the canvas.
Apart from this, there is also a Magnetic Lasso that works in the same way as the rectangular Lasso but it detects the edges of an image and sticks itself i.e. selects it.
Magic Wand tool (A): When we select an area, Magic Wand tells Photoshop to select the area on which we clicked and allows us to select the surrounding area as well. Using this tool, we can remove the background of any photo.
Crop tool (C): The crop tool is a kind of charismatic tool, with the help of which we can crop any photo in the exact size in proportion and proportion of our choice. By using this tool, you can change the image size as per your wish.
Healing Brush (J): With the help of the Healing tool, we can select Paint as a sample from any part of the photo and then use it as paint in the whole photo. After that Photoshop will try to perfect the photo by blending the part painted by you from all sides.
Clone Stamp (S): This tool also works like the Healing tool i.e. applies the paint taken from one part of the photo to the rest of the part but after that Photoshop does nothing with the photo itself.
Eyedropper Tool (I): With the Eyedropper tool, you can choose from a particular point of the photo as a color sample. After that, you can change the color of the foreground with the color you chose.
History Brush (Y): The History Brush allows you to paint through the timeline of a photo. Photoshop tracks everything you do as a move.
It accepts about 50 moves by default so that you can paint the current photo by going back using the History brush.
Suppose that you have made some part of the photo very bright and want it to remain the same as before, then you can bring back the same darkness in your photo by going back in time by using History Brush.
Paintbrush and Pencil (B): Paintbrush follows a paintbrush and the pencil follows a pencil. In Paintbrush you can use different types of brushes to paint. You can install a standard paintbrush and change its style with an airbrush.
Eraser tool (E): It works like the Paintbrush tool but the only difference is that it is used to erase it, not to paint.
You can also learn it by taking a private class from a good Graphic Design Institute in Delhi. If you want, instead of calling an expert to your home and going to the graphic designing institute, you can teach in your home computer itself.


Add Comment